Installation To Snowflake
This guide shows you how to setup the causaLens Studio application as a Snowflake Native Application.
Prerequisites
To install causaLens Studio as a Snowflake Native App, you need the following pre-requisites:
- Access to the causaLens Studio Marketplace Listing
- User with role that can provide access to the database/s to use inside Studio.
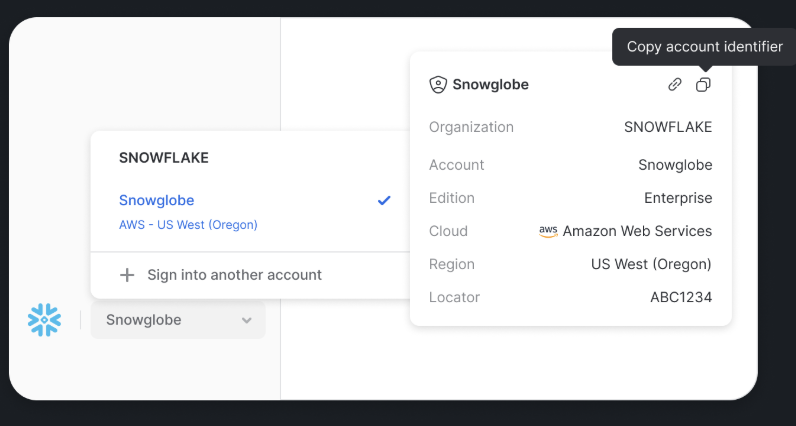
To gain access to the causaLens Studio Marketplace, please reach out to sales@causalens.com to arrange a private offer. Please note, you must be able to provide your Snowflake AccountId which you will be able to obtain from the bottom left of the Snowflake UI.
Once you have these sorted, you can then install the application inside Snowflake.
Installation Steps
1. Get the application from Snowflake Marketplace
Search for causaLens Studio in the Marketplace and get the application. Please note that you might need access from your account administrators to install applications from the marketplace.
OPTIONAL: Change the compute pool size before granting permissions
Before granting permissions, you can change the compute pool size, which controls the size of the machine that causaLens Studio will run on.
By default, the application runs on the smallest CPU_X64_XS size, which is 1 vCPU with 6GB RAM.
To change this, you would need to run a script on your Snowsight Application by following these steps:
1. Create an SQL Worksheet in your Snowsight Application
To do this, you can click the +Create button on the top of the sidebar, and from there, select SQL Worksheet
2. Ready the worksheet
Make sure to select the correct warehouse and account for the application, which can be seen at the top right of the worksheet:

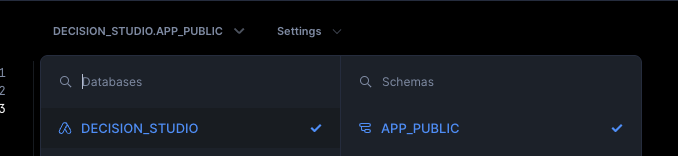
Next, select the app database and schema from the top left of the worksheet. The app_database should be the name you used when you pulled the application from the marketplace, and the schema should usually be APP_PUBLIC.
3. Run the script
When the warehouse is ready, run the following script:
GRANT APPLICATION ROLE app_user to ROLE <your_user_role_here>
UPDATE APP_SETTINGS SET "value"='<INSTANCE_SIZE_HERE>' WHERE "key"='INSTANCE_FAMILY'
Available Snowflake Instance sizes can be found under the INSTANCE_FAMILY parameter here.
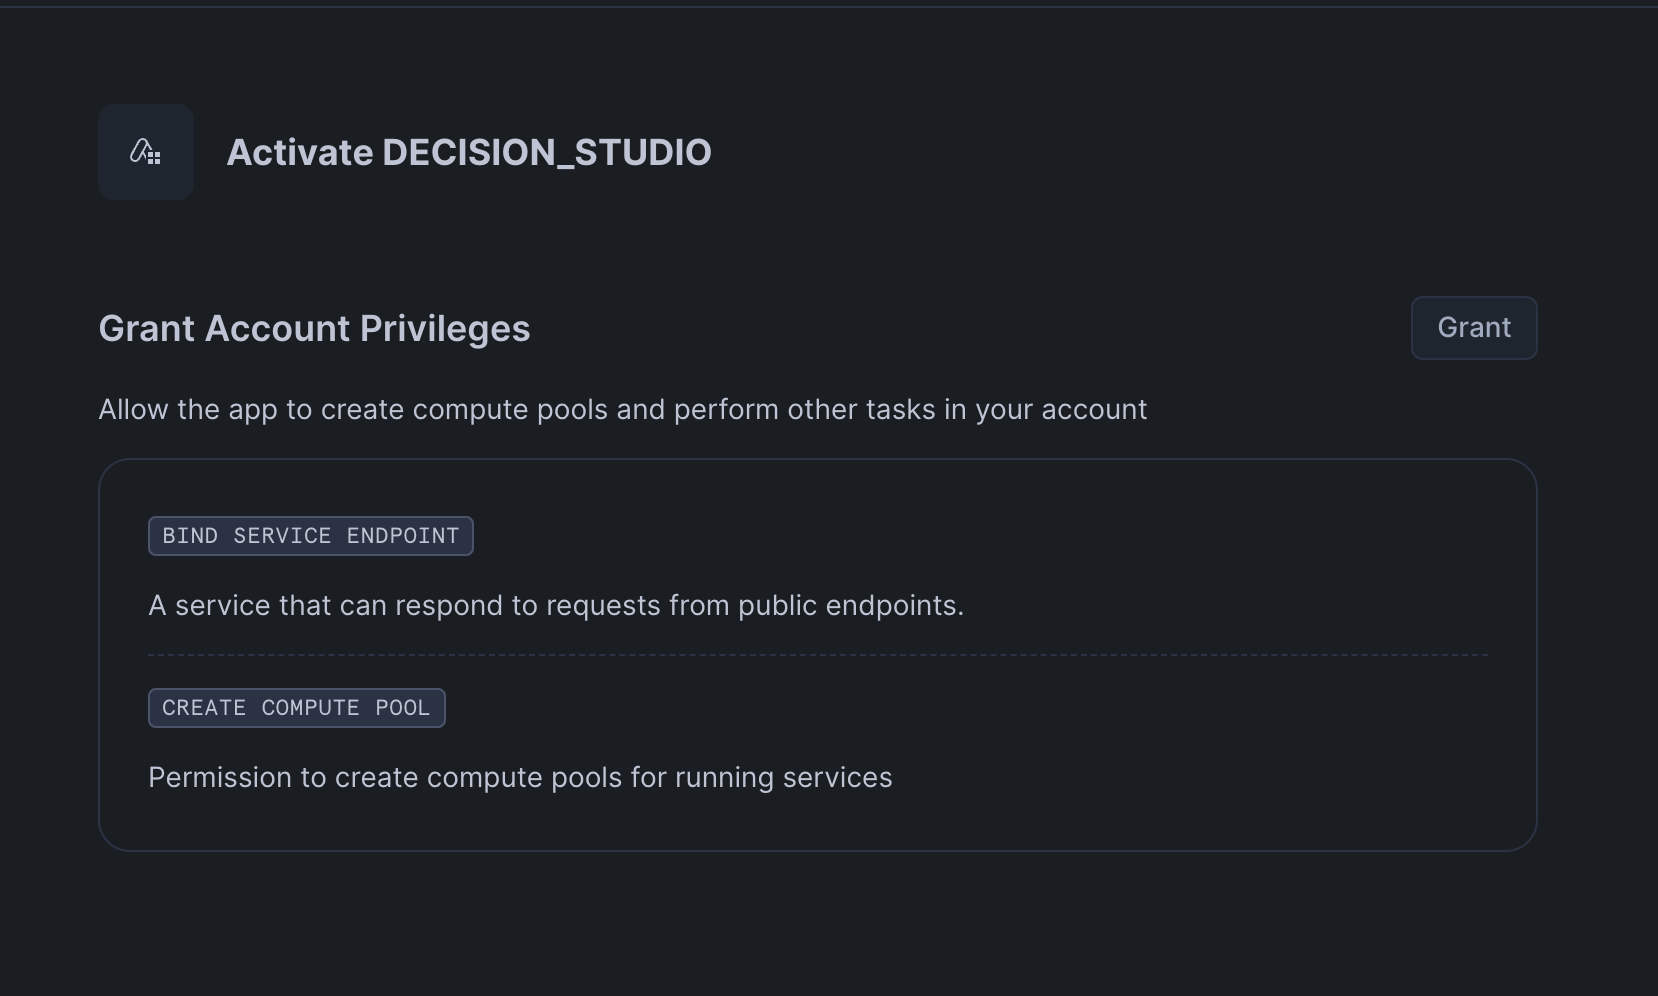
2. Grant application permission
For the application to run correctly, you need to grant permissions to the application, namely:
- CREATE COMPUTE POOL
- BIND SERVICE ENDPOINT
3. Activate the application
Once the application is granted permissions, you can now activate the application by clicing the "Activate" button.
The application should now start spinning up, and once done, the application should be ready to launch via the "Launch App" button that shows after the activation phase is done.